Ok, I am not that young BUT that is what my dear friend Marilyn calls me. So I call her the Wise One. There might be a few years of age difference between us but when it comes to stamping, that does not seem to matter. We love to share ideas!
We got our new catties and her keen eyes went to the projects faster than mine. She was scoping out page 27 and those adorable hanging treat baskets. She asked if I knew how to make them and I was clueless. Since she had the die for it listed on that page, she got to work. But then she was stumped. When I stopped by to check her progress she handed me what she had made so far and the die. She was half way there, just needed to double it. Marilyn was kind enough to let me play with her die over the weekend while I had sick kids and so I give you my first, simple tutorial, brought to you by the Wise One and the Young One. :)

Start with 1/2 sheet of 12x12. Cut into 3x3 squares. You do not need the entire die covered. Just enough to round off the tip of the star and I try not to waste.

You will need 6 of the squares and then roll them one at a time through your BS (that I got for Christmas from my awesome hubby). I found that more than one gave me cuts on my creases.
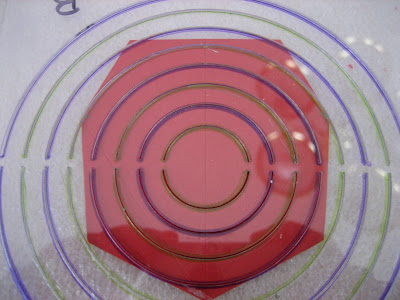
Then use your coluzzle to round off the top from crease to crease. I used the fourth circle counting from the outside in - cause that is what Marilyn told me to do. :)

Once you have all 6 peices cut, use sticky stip on the tabs and attach three in a row and the first and the last together in a circle. Do this twice to create two of the cups made from 3 peices each.


Then attach two flat sides together with sticky strip. Punch a hole near the top to put the ribbon through and you have an adorable hanging treat basket.

 My new clubs are starting this week and I am so excited. I know, I am always excited. But they let me stamp with them anyway. I like to make them little thank you gifts and well, I love to stamp. This one was super easy. I will give dimensions later, I have to finish getting ready for tonight and clean up the mess I made while I finished them. They are all made from current designer papers, yummy ribbons and laminated so they will last. In there is a note pad to make Wish Lists and sticky notes to mark their pages. Yea!


